How to make a directional notch
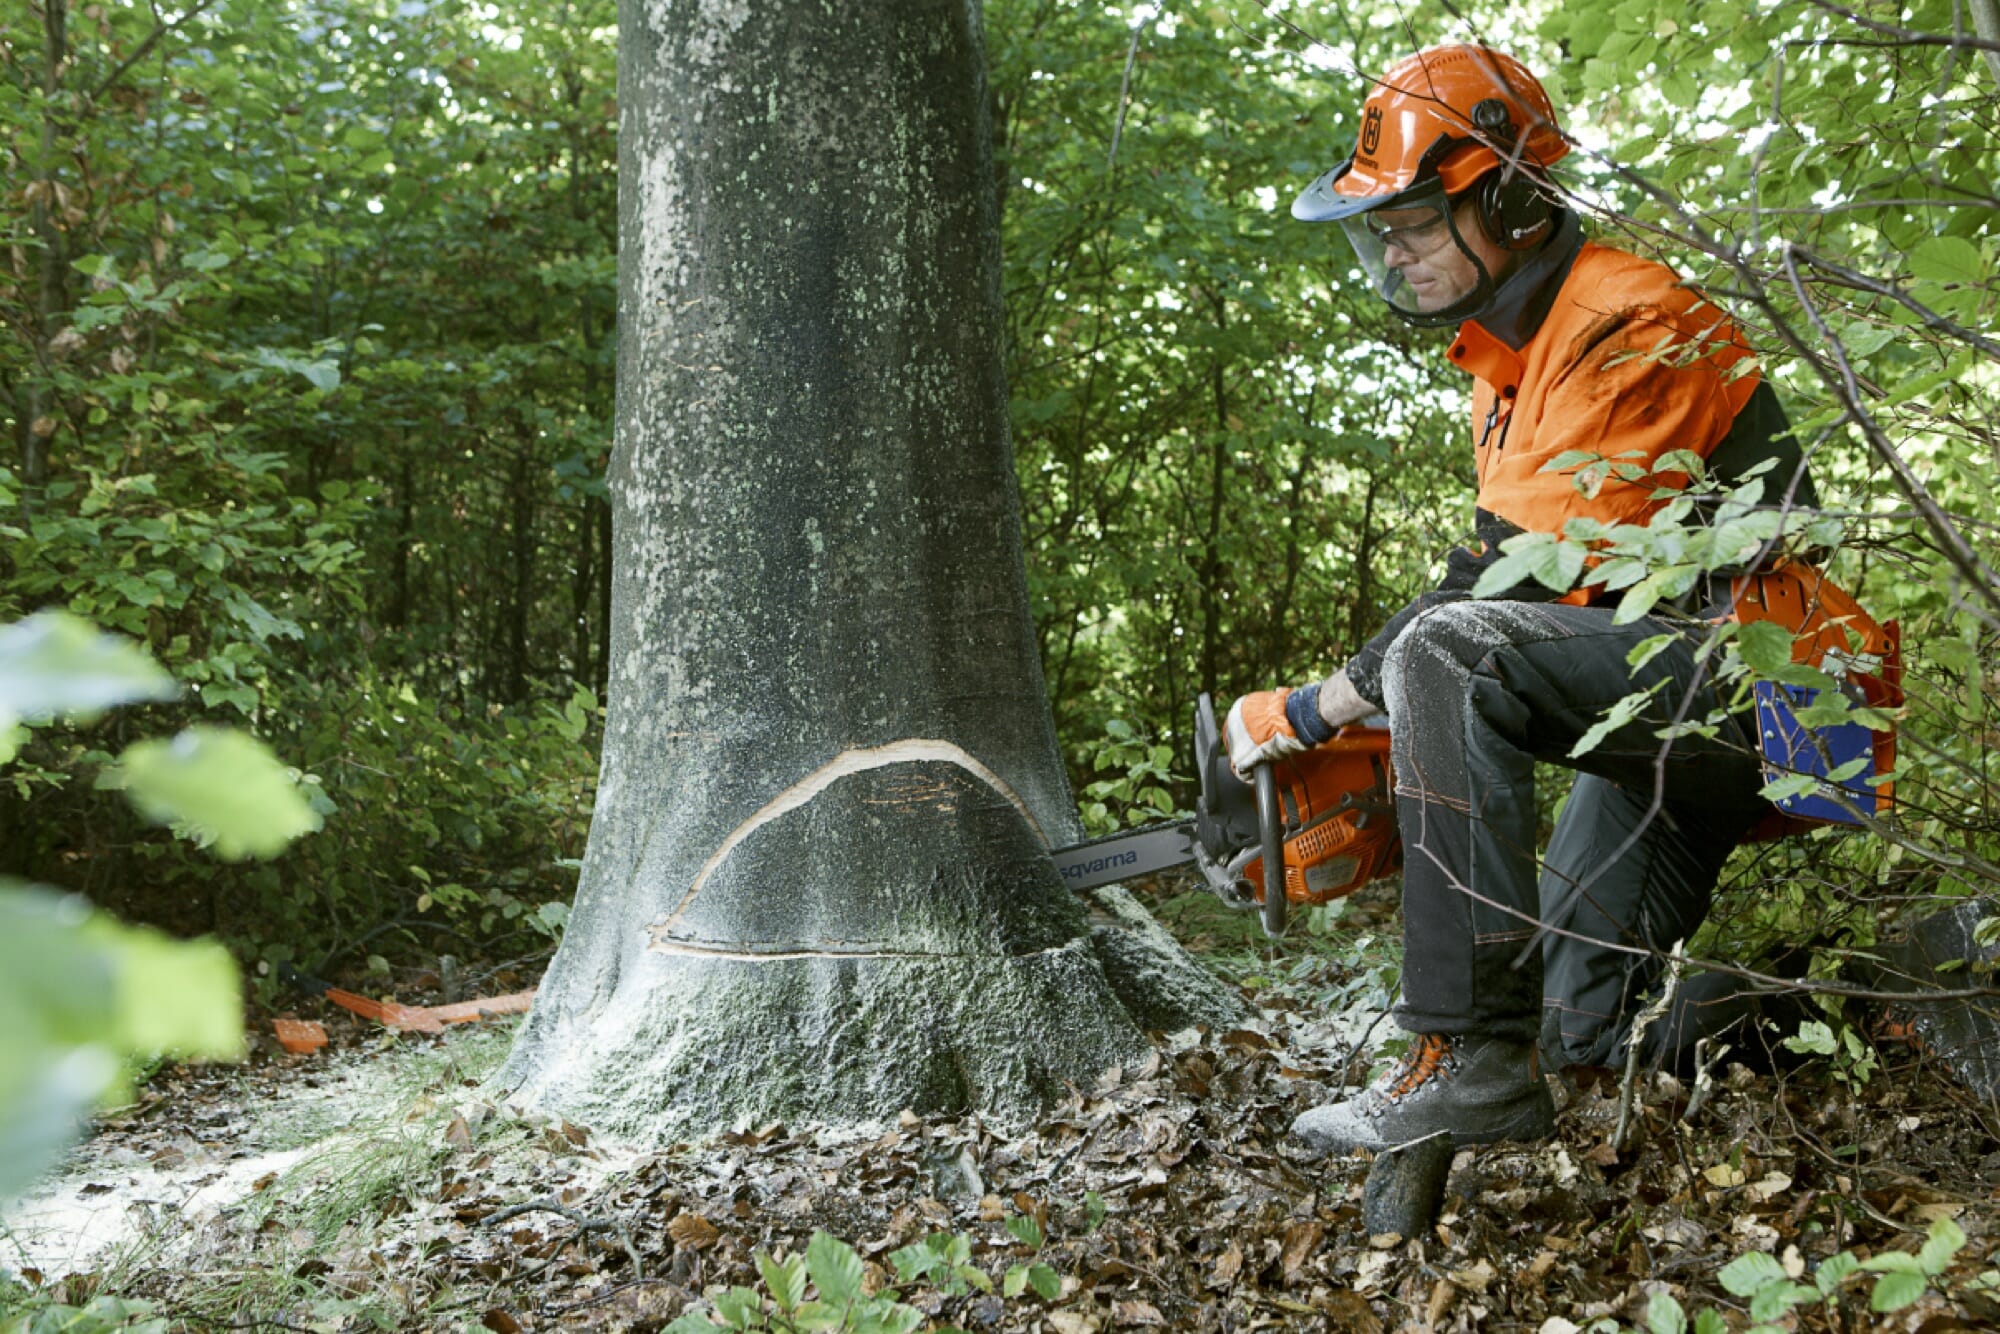
When felling a tree, always start by making a directional notch (also known as a face cut) on the side of the tree where you want it to fall. This allows you to control the direction of the fall – essential to avoiding accidents and injury to you and anyone nearby. Simply put, making the directional notch correctly is vital to safely felling a tree.
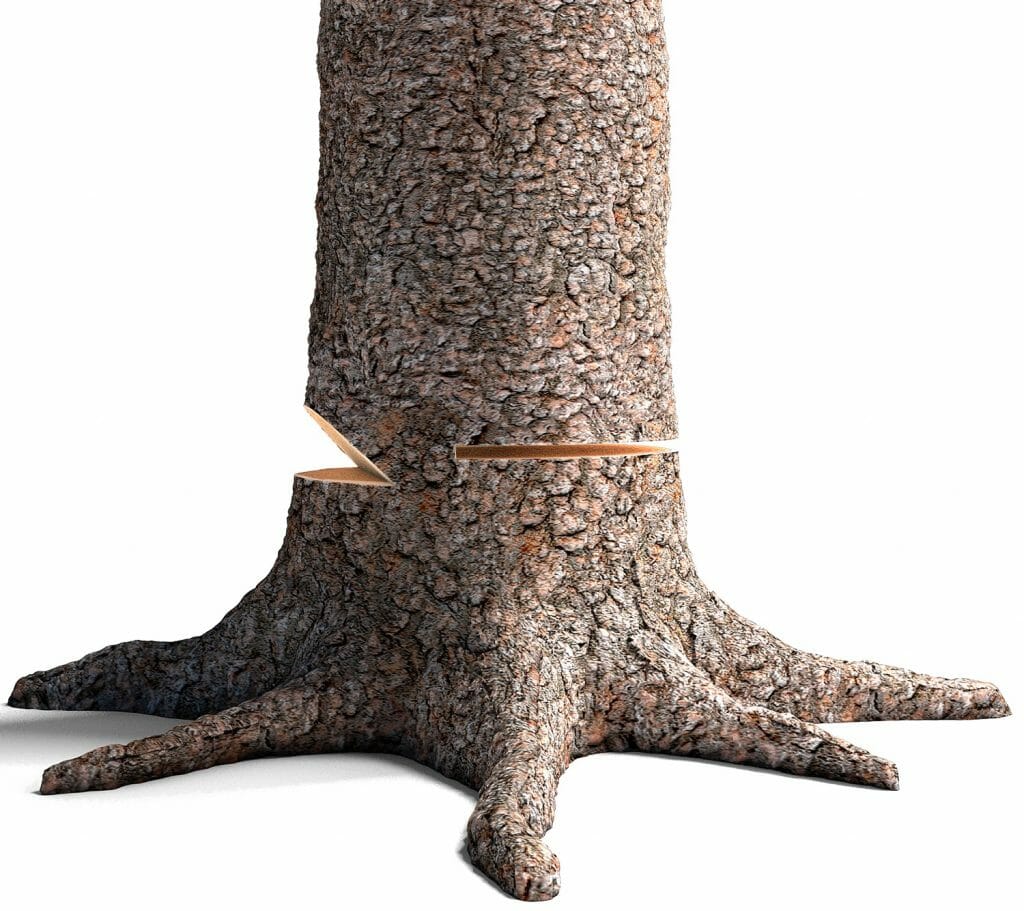
The concept of directional felling is based on creating a “hinge” of wood that guides the tree during the fall. The hinge is formed by the directional notch and the final felling cut. The placement, angle and depth of the directional notch are critical to ensuring the desired direction of the fall.
If you are new to directional felling or simply want to refresh your skills, we recommend that you take a look at Understanding directional felling.
Before you begin
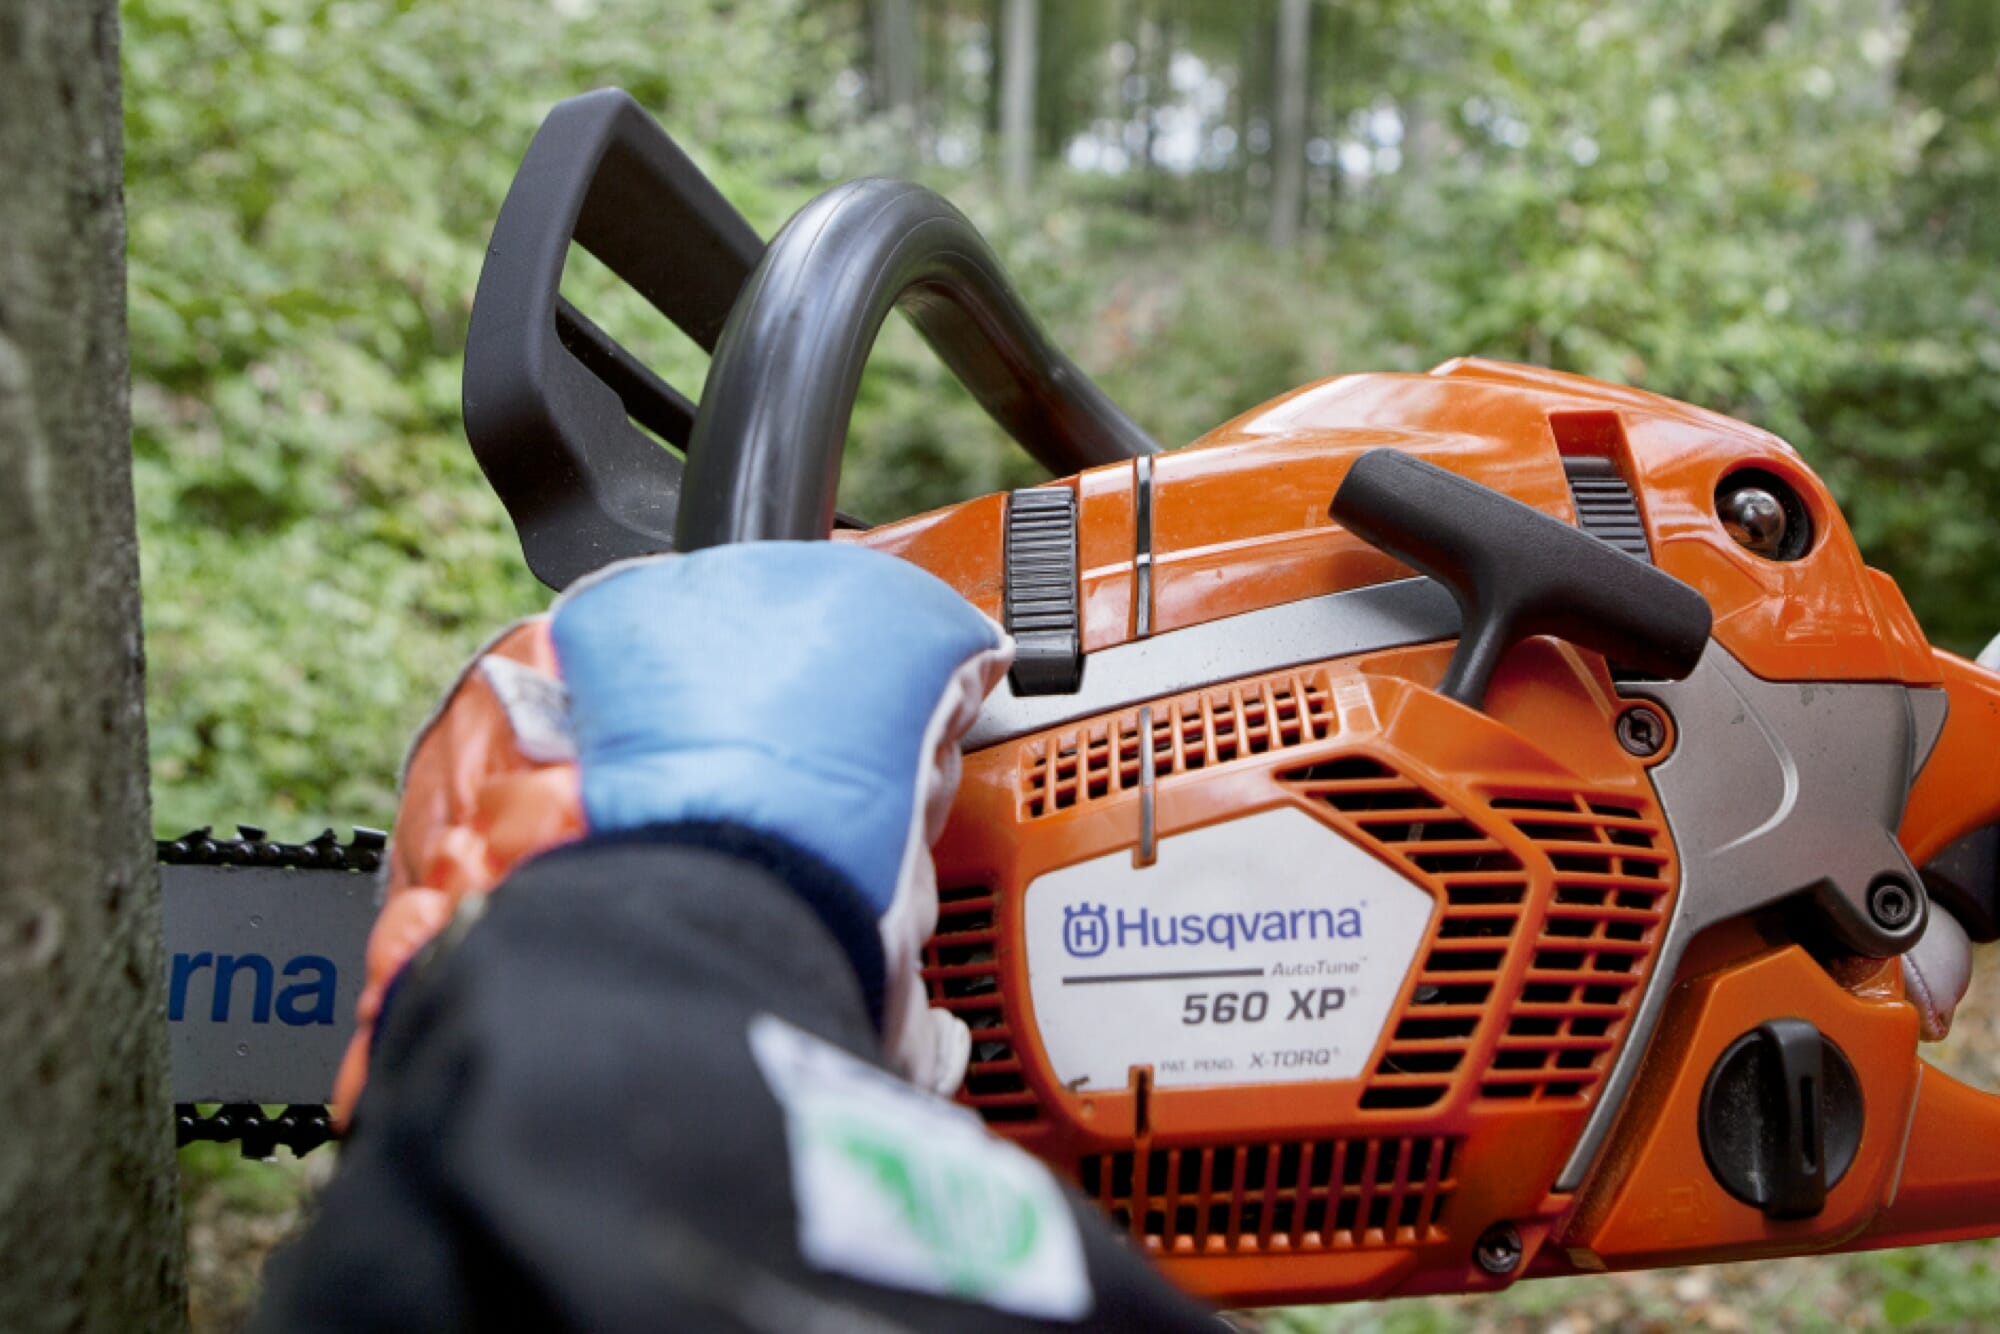
Tree felling can be dangerous. The best way to stay safe is to be prepared. So before you start felling a tree, learn about chainsaw safety, the right equipment and how to carefully and accurately plan the felling.
If you’re inexperienced or feel unsure – get help and guidance from a professional.
Choosing the right directional notch
A directional notch can be done in many different ways. Here we highlight four of the most common – and safe – methods:
• Open face notch, aiming with top cut
• Open face notch, aiming with bottom cut
• Open face notch with large opening angle
• Humboldt cut or inverse notch
The main differences between these methods are the opening angle, the order in which you make the cuts, and where you make the felling cut.
Below is a quick guide to the four methods.
Guide
Directional notches
1. Open face notch, aiming with top cut
Recommended for felling most trees on flat or slightly sloping terrain. Safe and the easiest way to get it right.
• Recommended method: safe and reliable.
• Used for most purposes in flat or slightly sloping terrain.
• Easier for the bottom cut to meet the angled top cut for directional precision.
• The felling cut is made in line with the bottom cut or slightly above to minimize the risk of splitting.
+ Low stump height.
+ The hinge stays intact until just before the tree hits the ground for better control.

2. Open face notch, aiming with bottom cut
Used in some parts of the world for felling trees on flat or slightly sloping terrain and is good for split-prone trees.
• Can be used for most purposes in flat or slightly sloping terrain.
+ Low stump height.
+ The smaller opening angle (45-55°) means that the hinge breaks early – which is good for split-prone trees.
– The higher position of the felling cut can increase the risk of splitting.
– It can be harder to achieve the right notch and hinge size.
3. Open face notch with large opening angle
When you need even more control, this is a good method since the hinge remains intact longer.
• Used for trees on flat and sloping terrain.
• Opening angle of more than 70° for greater control and precision.
• The bottom cut is angled downwards from the felling cut.
• The felling cut is in line with or slightly above the level of the directional notch.
+ The hinge remains intact until the tree hits the ground for more control.
– Higher stump height.
4. Humboldt cut or inverse notch
This is a safe and efficient way to fell a tree that is on a steep slope or prone to splitting.
• Well suited for thicker trees on steep slopes.
• Opening angle of at least 45°.
• Horizontal cut has the same angle as the felling cut.
• The felling cut is slightly above level of the directional notch.
+ Tree types susceptible to splitting.
+ Intact butt log.
+ Low stump height in steep slopes.
– High stump height on flat ground.

Again, our recommendation is to use the Open face notch, aiming with a top cut, since it is safe, easier and well-suited for most tree felling applications.
Recommended method
1. Open-face notch, aiming with top cut
This is the cut we recommend for most trees on flat or slightly sloping terrain. It’s safe and the easiest method to get right. The large opening angle (60-80°), ensures that the hinge remains intact until just before the tree hits the ground.
By first making (and aiming with) the angled top cut, it is easier to get the bottom cut to meet the top cut. The felling cut is then made in line with the bottom cut or slightly above to minimize the risk of splitting.
Here’s how to do it.
1. Saw off root protrusions
2. Prepare for making top cut
3. Take aim
4. Make the top cut
5. Make the bottom cut
6. Make cuts on opposite side, if needed
7. Proceed to make the felling cut
1. Saw off root protrusions

Prepare the directional notch by sawing off any root protrusions that might complicate felling. It is often useful to cut the bark on the sides of the trunk at the level of the intended directional and felling cuts so that the cuts are clear.
2. Prepare for making top cut
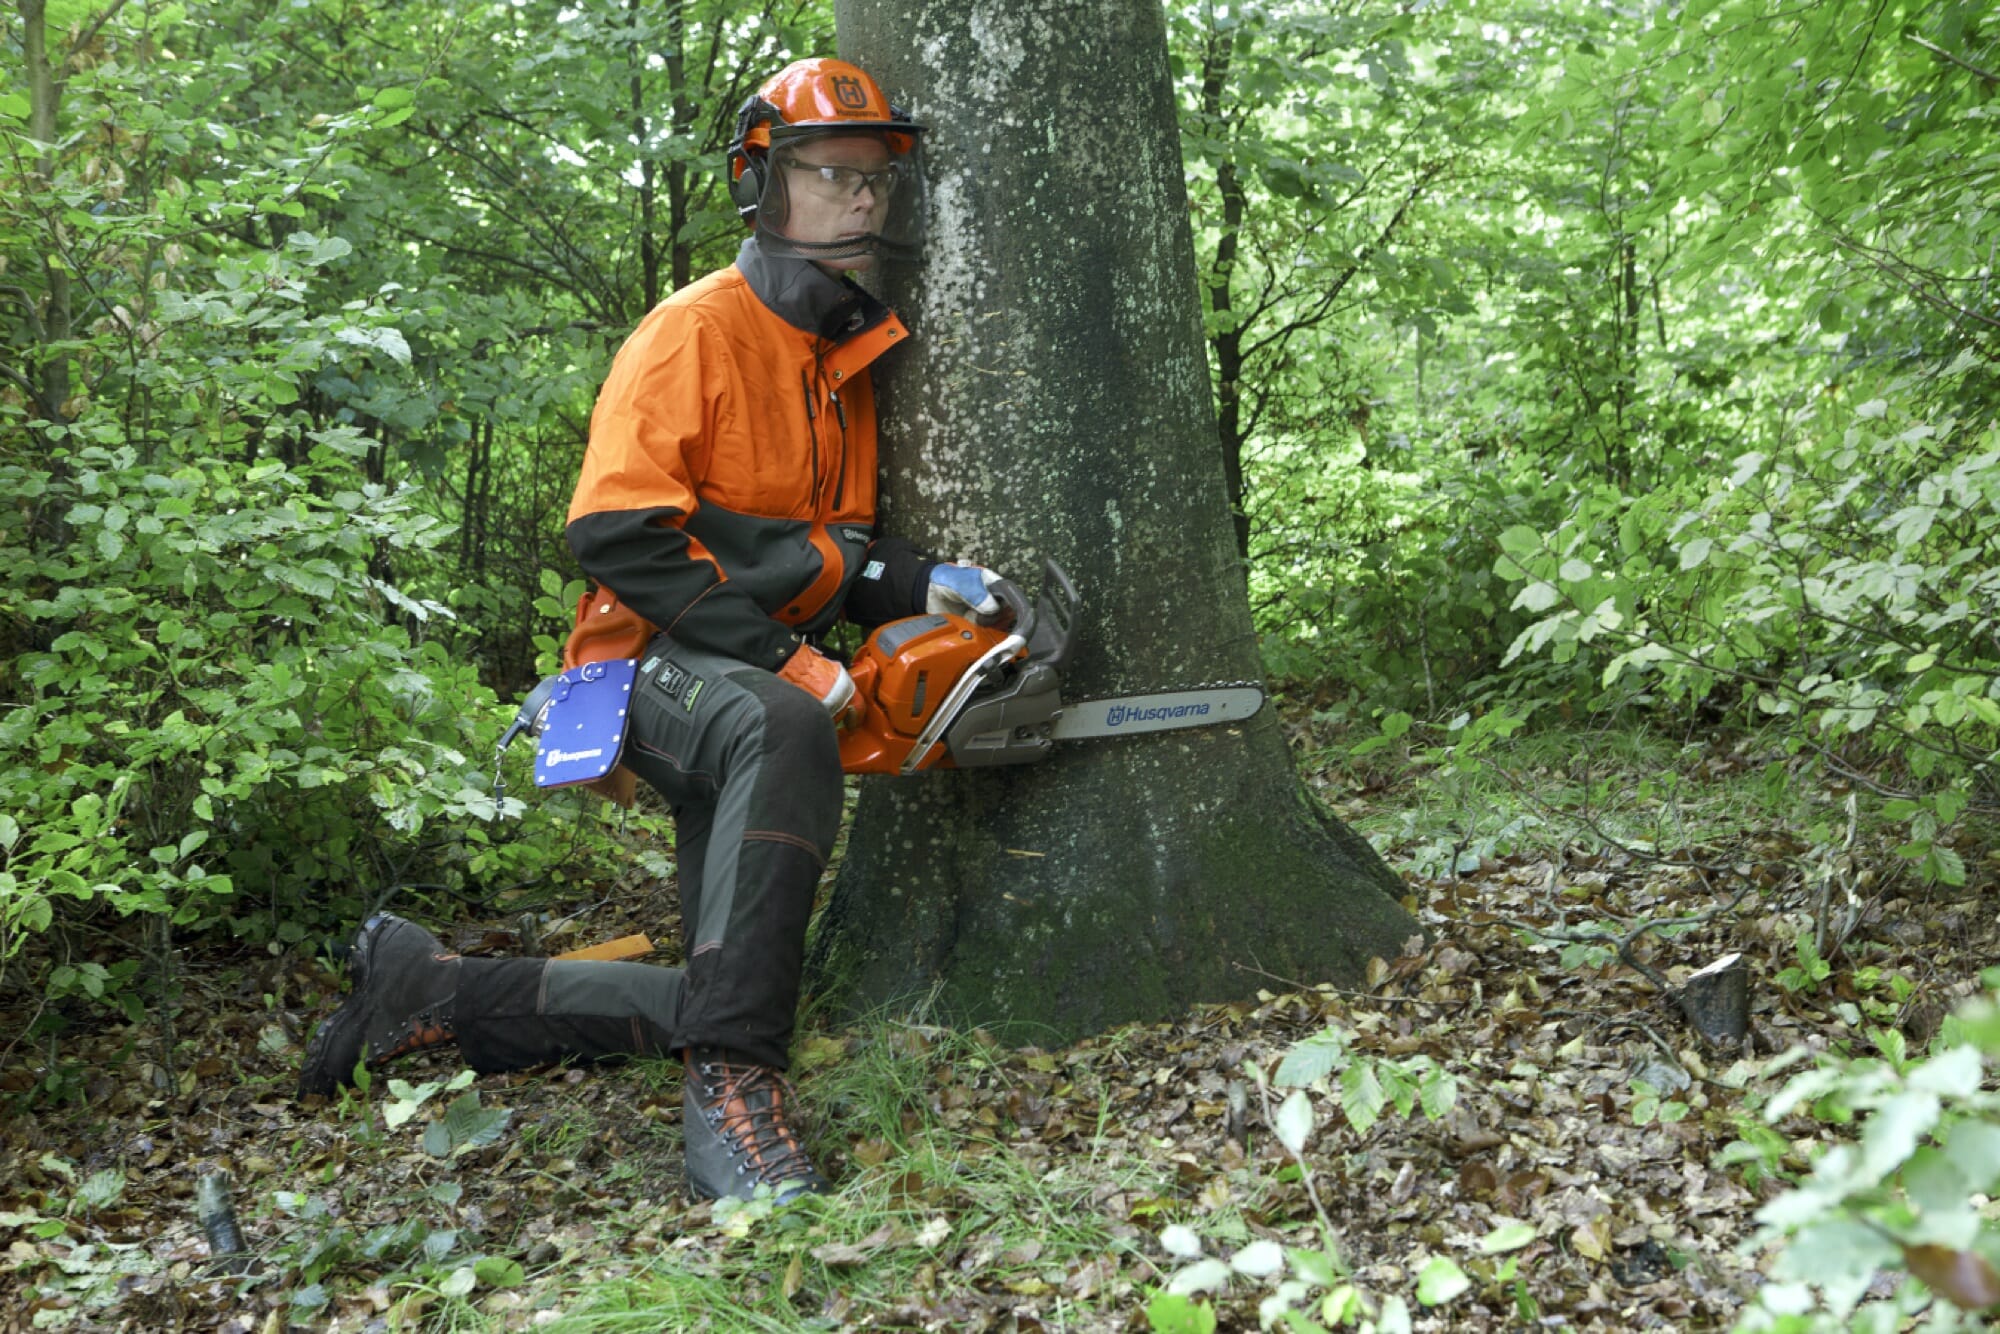
Leaning against the trunk with your left shoulder, stand with your legs wide apart or put your left knee on the ground, for good balance. Before you start the directional cut, decide the stump height and mark it with the saw chain.
3. Take aim
Aim with the top cut at a point further forward in the terrain where you want the tree to fall. The directional target must match the saw’s felling direction markings (lines).
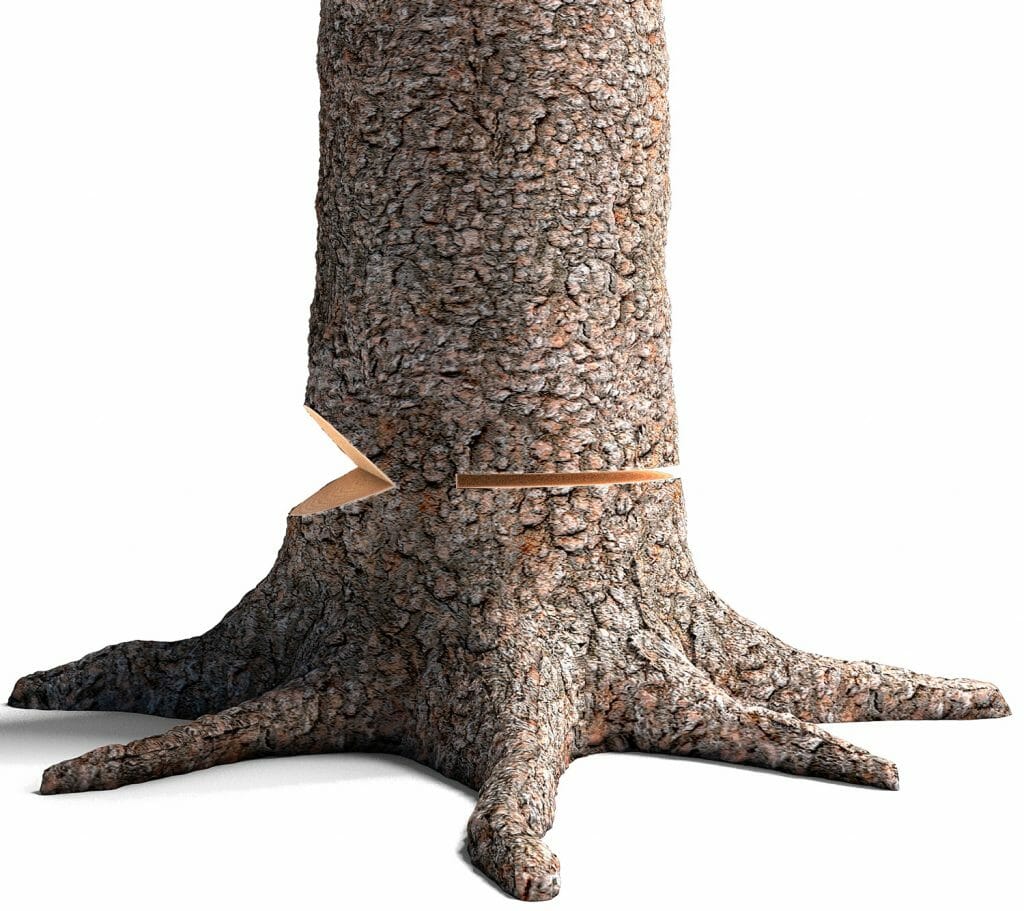
4. Make the top cut

Angle the guide bar and start sawing at full throttle from an angle of 60–80 degrees. Check occasionally during sawing that you are maintaining your original position. Saw until the cut reaches 20–25 % of the tree’s diameter.
5. Make the bottom cut

Saw the bottom cut so that it meets the top cut precisely. Make sure you do not saw the bottom cut too deep. If the top and bottom cuts do not meet exactly, you will not have sufficient control over the felling. It is also important that the saw is held horizontally when the bottom cut is sawn.
6. Make cuts on opposite side, if needed
If the tree is wider than the guide bar, supplement both the top and bottom cuts from the other side.
7. Proceed to make the felling cut

Choose a suitable felling cut for the tree. The felling cut should be in line with, or slightly above, the level of the bottom cut.
Other methods
Here we have presented an overview of four common directional notch methods and taken a closer look at our recommended method: Open-face notch, aiming with a top cut. To learn more about the other methods, please get advice from a professional in your area.